I like to tinker with computers. When I see a neighbor throwing out a PC, I tend to investigate, and see if the computer is worth salvaging. It is also very educational for the kids. Working with an old PC can teach kids about computers, basic electronics, and recycling. If the PC happens to be a cast-off from a friend, or a neighbor’s trash, it is also very cheap!
Americans tend to think of computers as semi disposable; the toaster-oven of the information age. When the computer is working, they use it. When the computer gets a little old, or starts to slow up, they tend to throw it away and get another. Often, a little work, and the computer can be running smoothly again. This not only helps the budget, but also is “green”, in helping to reduce electronic waste.
I recently read a National Geographic article on the amount of electronic waste we generate, and how a lot of it ends up in toxic third-world dumps. If we used our computers for even a year longer, the amount of electronic waste would be considerably reduced.
Here is the latest project: Restoring a PC plucked from the neighbor’s trash.
The most important thing about garbage picking is: don’t pick up garbage! In other words, there is trash that can be salvaged and reused, and then there is junk that needs to be disposed of. Very old computers should just stay where they are.
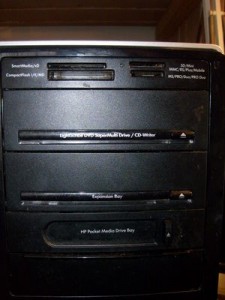
This particular PC looks promising: The front of the box sports a card reader and DVD burner:
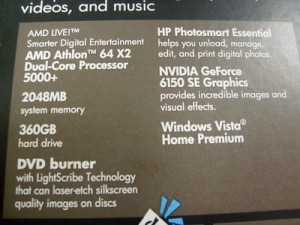
The side of the PC says it is a dual core, with 2GB RAM. Windows Vista means it is slightly out of date, but not completely out of date (If the computer proclaims Win95, Win98, or Win ME on the side, it’s old: leave it at the side of the road!)
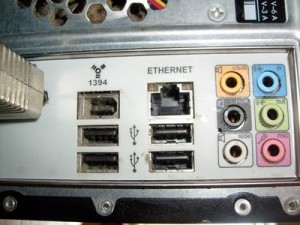
The back of the PC sports 4 USB ports, a firewire port, and an ethernet port.
This computer is definitely worth picking up!
I ask the neighbor if she minds me taking it. She is throwing a lot of stuff out, in preparation for moving, and tells me to take whatever I want.
So why was the computer thrown out? The boys and I take the computer back home, and hook it up. It promptly boots to Windows Vista. Other than a bad audio jack in the back, everything seems OK! Maybe they just upgraded to another computer, and decided to dump this one.
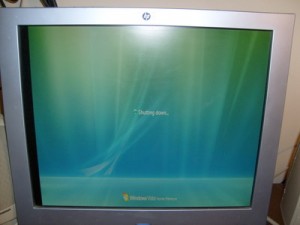
I run a program to test the computer RAM, called Memtest86. The result comes up clean.
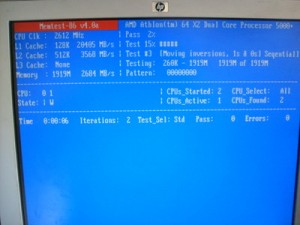
Electrically, this box is looking good! However, the computer is -very- dusty inside. Computers suck air through their chassis all day long. If they are not regularly cleared of dust, they can get clogged up. This can eventually cause the computer to overheat and malfunction.
Here is what this PC looks like inside:
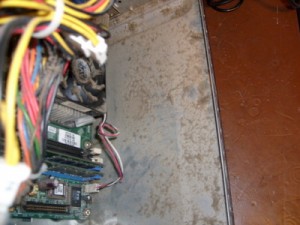
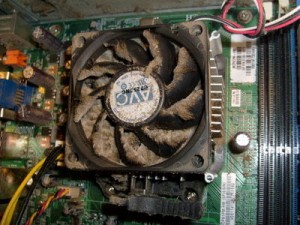
Just look at the clogged CPU fan and heatsink! It is a good bet that this machine had some heating issues.
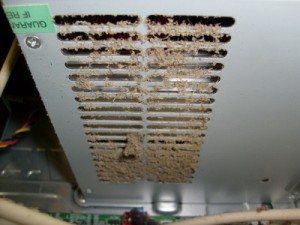
The power supply is also completely clogged:
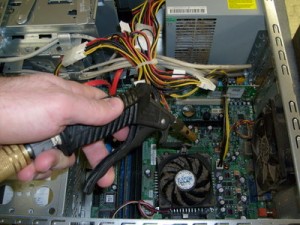
Fortunately, the dust problem is easily solved with a shop-vac, and compressed air. Here I am blowing out the inside of the PC with compressed air.
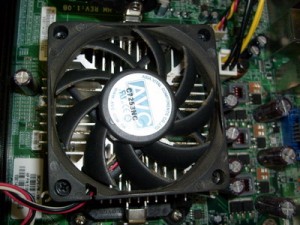
After the vacuum and compressed air treatment, the inside of the computer looks a lot better:
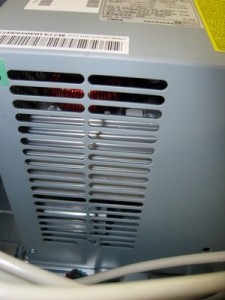
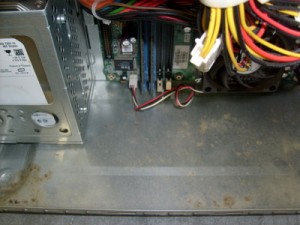
And here are the power supply and chassis:
OK – The computer is now clear of dust bunnies. Now its time to set it up so I can use it.
First, I need to destroy any old information off the hard drive. The previous owner may have personal information on the computer, or viruses, or worse things. All that is better erased before I start using it.
My tool of choice for clearing information off of a hard drive is a program called “Darik’s Boot And Nuke“, or DBAN for short. It basically does what the name says: You boot the computer with the CD, and it completely wipes the hard drive from one end to the other. BE CAREFUL with this program: -forget- about retrieving anything from the hard drive after DBAN does its job.
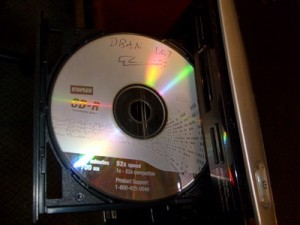
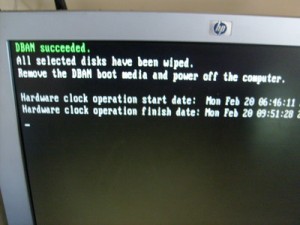
Good – the disk is as bare as Michael Jordan’s scalp!
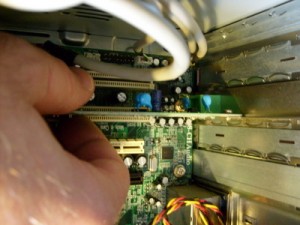
Now for some more hardware tweaking: I have DSL internet, so I don’t need that 56K modem. It is just taking up room and power. So it gets yanked:
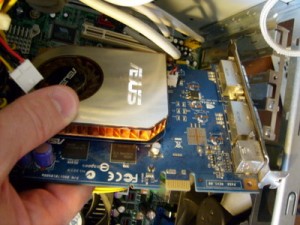
I also want to make the graphics a bit snappier than the stock onboard graphics system. I put an NVidia GeForce 7600 card (conveniently found in another trash heap) into the slot. This will make a big difference when watching video.
Now it’s time to load the shiny new operating system. Most people use Windows with their computers, because that is what is already loaded on the machine when they buy it. However, sometimes it is difficult, or expensive, to obtain a legal restore disk with Windows. Legal and inexpensive is the name of the game here.
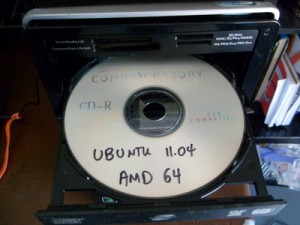
I will not restore Windows on this computer. Instead, I will load this machine with a distribution of GNU/Linux, called Ubuntu. Ubuntu is a modern, fast, and secure operating system that works on most PC’s. It also can be downloaded legally for free! Here, I am loading the Ubuntu CD into the computer:
The program on the CD takes care of most of the work installing the operating system.
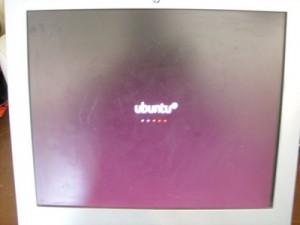
All installed! The machine is ready to boot and use.
Ubuntu Linux is very difficult to understand, and should only be used by “trained experts”. Here are my experts, to show how to properly use an Ubuntu PC:

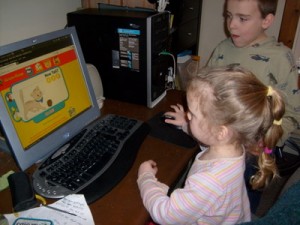
Actually, I think K is playing a game on the PBS Kids website. The major problem with the computer now is actually getting my kids off of it, so I can use it!
There we go! The Guest family now has a snappy “new” PC. Total cost for the box is $5.00 (I had to buy an adapter for the video jack). The kids and I had fun, and a piece of electronics is out of the dump for a while longer!

This is wonderful, and you have great tips. Thanks for posting. Wish I knew about Ubuntu a few years ago.
It”s funny. In Attleboro, Medford, Sommerville – I saw a number of old computers on the street. Not once have I seen one in Fair Lawn, NJ… Gotta wonder about the mentality here…