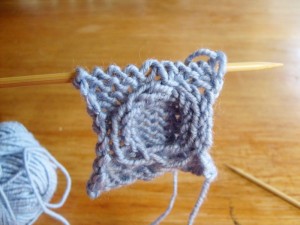
Barbara G Walker and Melissa Leapman both use this method for “capping a cable” AKA closing a ring design. I think it’s sheer brilliance. Elsebeth Lavold uses a different method, someday I want to make a medallion combining the two techniques, based on a knot garden I saw: same pretty, no controversial boxwood smell.
This photo looks a bit weird, but since ring cables do not have the “working row, resting row,” cadence of most cables, but can have cabling on two or three rows in a row, I can’t really apologize: I came to the decrease 5 in one stitch part on a “wrong side row.”
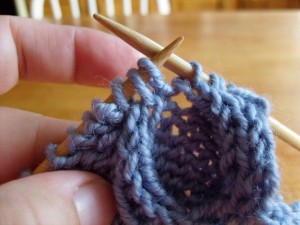
Once you are on the row where the big decrease happens, don’t knit the ribs.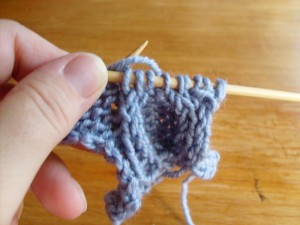
Instead, slip them, so that the central purl stitch is the first on the needle.
Insert the right needle into the knit stitch just to the left of the central purl stitch (cps).
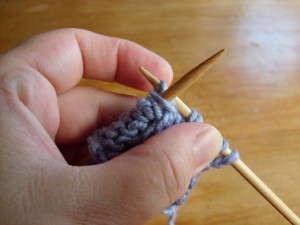
And lift the knit stitch over the cps. Slip the cps onto the right needle, lift the knit stitch to the right of it with your left needle, over the cps.
Slip the cps back onto the left needle. With the right needle lift the knit to the left of the cps over it.
Put the cps back on the right needle, again with the left needle, lift the knit stitch to the right of the cps over it.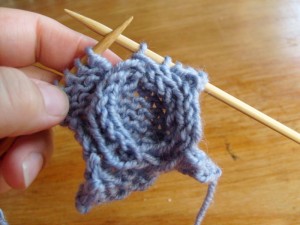
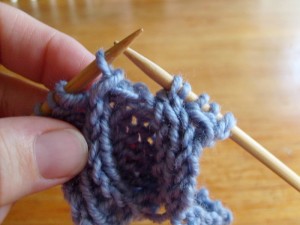
If you have more than just the 4 rib stitches, continue to alternate lifting rib stitches over the cps until the ring is closed, and they appear to have merged. Really, the alternating stitches laying on their sides just mimic the ‘v’s of a knit stitch, but the illusion is so good, it’s hard to tell.